Yes, Home Maintenance Inspections are a thing and, assuming you had an inspection when you bought the home, the reports are very similar to a typical “buyer’s inspection”. But are they worth the money?
Short answer: Yes, very much.
Longer answer: Let’s first define “worth” and “money”… and maybe even “the”.
How Much Does It Cost?
“If it is so similar to a typical home inspection, does that mean it costs about the same? Because why would I pay $500 again for another inspection of the house I have lived in for a couple years already?”
This of course will depend on the company and their standards, along with any regulatory standards for an inspection. Normally, a maintenance inspection is cheaper than a point-of-sale inspection because there are a lot of things that we don’t need to inspect since you are already the owner of the property.
For us, since we are excluding a number of things that the owner is already going to be familiar with, such as general interiors (doors, windows, floors, walls, ceilings) and kitchen appliances (unless we are also performing a recall check), what would be a $500 point-of-sale inspection is only about $375-$400 +/-.
Is It Worth It?
To determine if a service is worth the cost, the value of that service must meet or, better yet, exceed the price. A home maintenance inspection from Wilson + Sons is essentially a “major systems” inspection which will look at Structure, Roof, HVAC, Plumbing, and Electrical to determine if there are any defects that need attention. Let’s consider, then what it would cost to have all of these systems inspected individually using current (2025) pricing. I will go a step further and just use the cheapest prices you can expect.
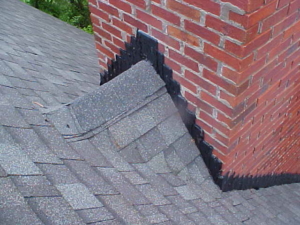
Roof Inspection: $125
HVAC Inspection: $250
Plumbing Inspection: $100
Electrical Inspection: $100
Structural Inspection (No Engineer): $300
Minimum Total: $825
The reason I picked the lowest ranges from the national averages is because the home maintenance inspection is visual only, whereas some of these specialist inspections can include diagnostics and can get more technically exhaustive. The cheaper the specialist’s service, the more visual-only their evaluations are which would more align with the licensing parameters of a home inspector. Also, understand that in your state, it may be that a licensed home inspector is the only professional who is allowed to give a single, written report containing multiple systems. That is the case here in NC. So that removes “General Contractor” from the list unless your state allows it, or unless that GC is also a licensed inspector.
Therefore, if you are paying these lower-end prices for individual specialists, you are likely getting a visual-only inspection which will lead to additional costs for them to dive deeper in so you can get the answers and the maintenance work you need. This is precisely what you would be paying a home inspector for, but with an added benefit: Impartiality!
How Often?
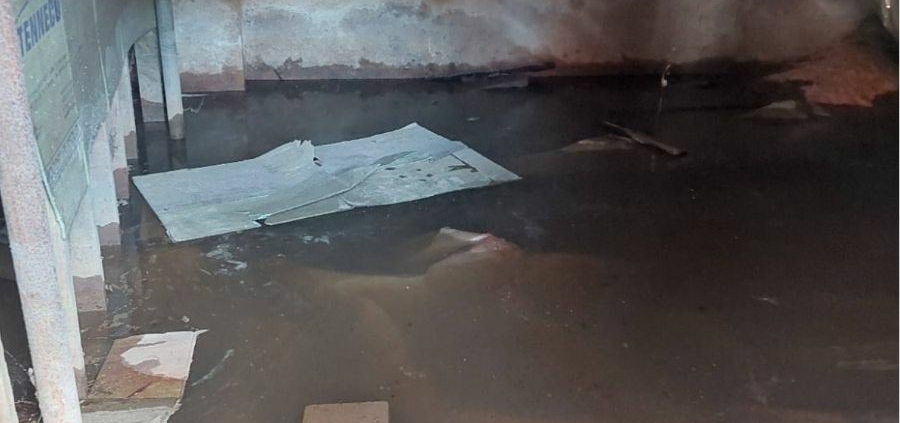
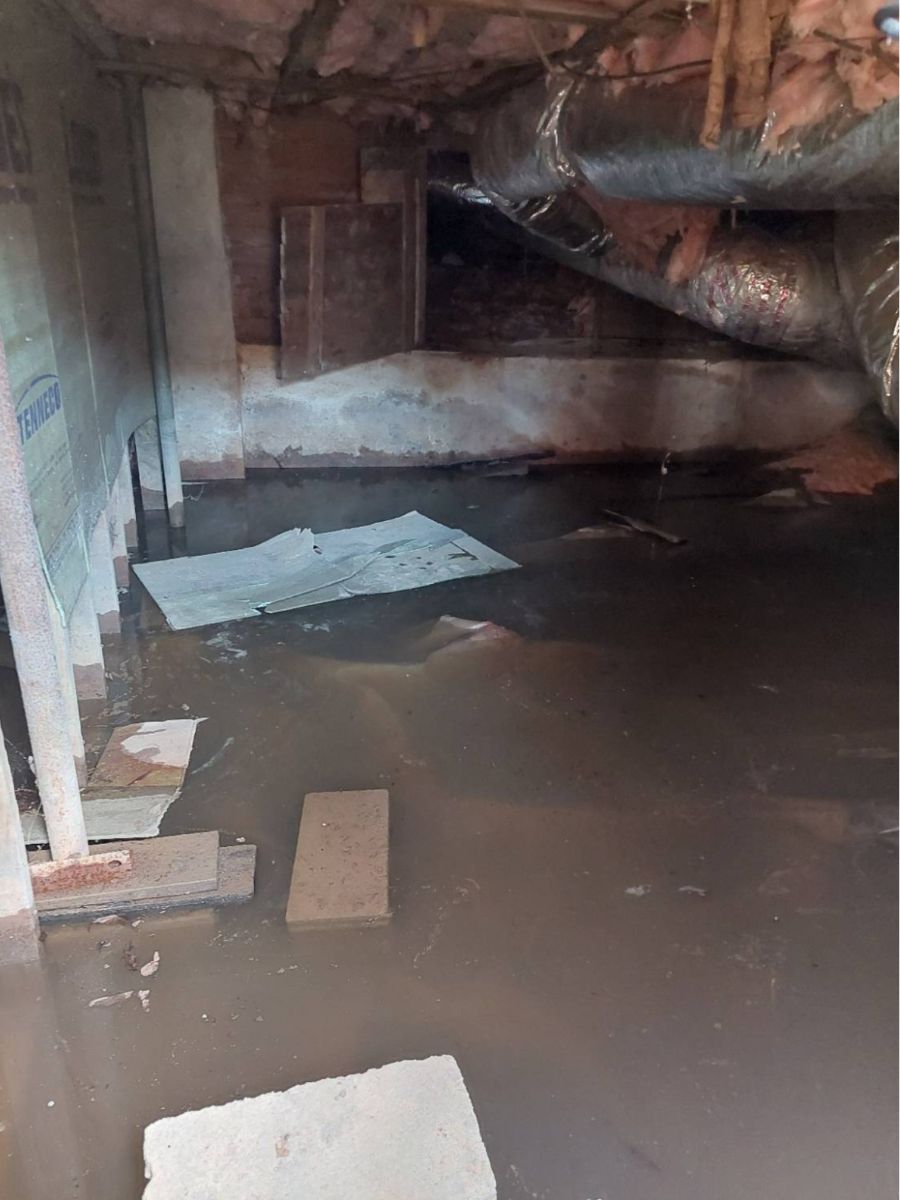
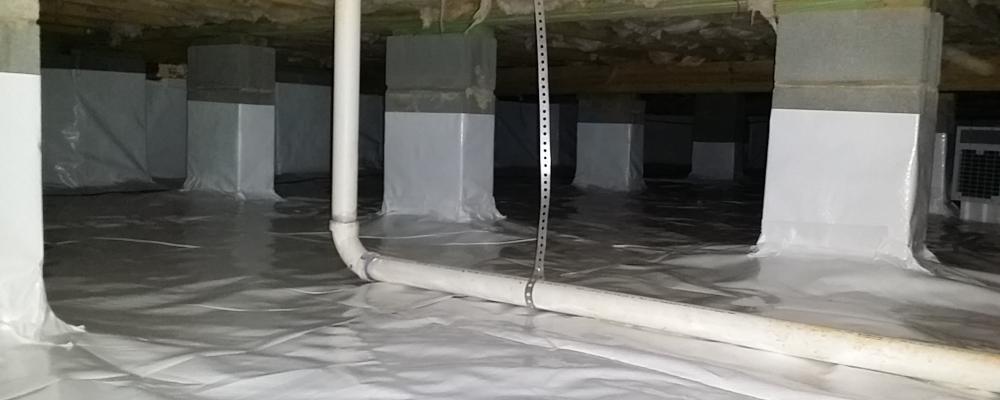
In a perfect world, a maintenance inspection should be scheduled annually, but we don’t live in a perfect world, do we? $400/year for a service is not insignificant. If annually seems like a lot for your house, then every 2-3 years can be just fine. The bigger and more complex the house, the closer to annual the inspection should be – especially if you have a crawlspace.
A good way to get a good inspection and go easy on the budget is to exclude certain items from the inspection. For example, if you already have an annual maintenance plan with your HVAC company, then you can exclude HVAC from the maintenance inspection and save on the cost. Some homeowners also elect to just have the areas inspected that they themselves don’t want to inspect such as the crawl space.
The point is that you have a good idea of the status of your home so that you can prioritize your maintenance budget appropriately. The reasons for having a maintenance inspection performed are the same as getting a physical or having your bloodwork done: identify, prioritize, optimize.
The Best Value:
Since the inspector does not have an interest in making repairs or selling new systems (code of ethics strictly prohibits these practices), you are getting the most honest assessment from a single generalist who has a working knowledge of the entire home. After the inspection, red flags can be referred to the needed specialist(s) for evaluation and you can often skip over unnecessary service fees.
The unbiased nature of the maintenance inspection will be the greatest value to your wallet, but there is another aspect to the home maintenance inspection that has a bigger impact than people realize, which is the fact that you are having all of these systems inspected at once. The reason this is vital to the inspection process is because a home works in such a way that many of the systems overlap and have an impact on one another.
A licensed roofing contractor is only looking at the roof. He is not going into the crawlspace to check and see if there has been any structural movement or water intrusion due to an improperly discharging gutter downspout. The licensed home inspector will not only be looking at the individual components, he/she will be connecting all of these systems and giving a report of the home as a whole.
“But don’t roofers and crawl space guys usually do free inspections?!” The ones that do make them free for a reason. They will find something that needs to be improved or replaced whether you need it or not. The inspection is free because they are betting that they will get a sale that more than makes up for not getting paid for the initial trip. Not that there is anything inherently wrong with this business model, but just understand that most contractors are not in the business of inspecting. Inspections are really good leads that they don’t pay for, which is a very valuable thing for a service contractor.
A Simple Conclusion:
Rather than paying upwards of $1000 for a maintenance check by individual specialists and even more than that on extra bells and whistles you may not need or be able to afford, you can spend a fraction of that for a licensed home inspector, then get the specialists you actually need and bypass the ones you don’t.
To use another medical analogy: to get a picture of your overall health, one would usually get a physical and/or bloodwork to identify any red flags or anomalies. One would not first make 5-7 specialist appointments. That would be backwards, expensive, and inefficient (not to mention some peoples’ insurance wouldn’t allow that anyway). Let the generalist, i.e. your home inspector, identify where attention is needed, then make the necessary recommendations and, if necessary, the proper referrals. That is the maintenance inspection in a nutshell.